Note: These tutorials use UK crochet terms for stitches. Where necessary, the US terms for stitches will be given in brackets the first time they’re mentioned, then the UK terms will be used from then on.
How to Crochet a Loop Stitch
In this tutorial, I will show you how to make the loop stitch. This stitch is essentially a double crochet (US single crochet) stitch, only with a loop added to the back or “wrong side”. It is usually used on accessories or soft toy animals to make the effect of fur or fluff by cutting the loops and brushing the loose ends. As the loops come out the back of the loop stitch, a piece including this type of stitch will typically be made as though the “wrong side” is the “right side” so that the fluff is visible on the front/outside of the piece.
How to Make a Loop Stitch:
Begin as you would with a double crochet stitch, by putting your hook through the next stitch:
To form the loop, wrap the yarn around the index finger of your non-dominant hand so that there are two visible strands on the side of your finger. Your yarn should look like this:
Put your hook through both the strands on your finger in the direction of the tip of your finger, then pull both strands through the stitch, keeping the yarn on your finger. This part can be a little fiddly, but as with many things, it gets easier with practice - be sure use your non-dominant thumb to hold the piece tightly against your non-dominant hand, and of course it’s a good idea to keep the yarn loose-ish for this part so you don’t cut off circulation! You should have three loops on your hook.
Now carefully take yarn off your finger, which should leave a loop of yarn sticking out the back of your piece. At this stage you should tighten or loosen this loop so that it’s the length you want for your fluff. DO NOT pull this loop so tight that it disappears - it’s the reason it’s called a loop stitch!
Loop stitch from the front
Loop stitch from the back
Done!
To finish, just loop the yarn over your hook and pull it through all three loops on the hook (NOT the loop sticking out the back - leave that alone).
Many loop stitches.
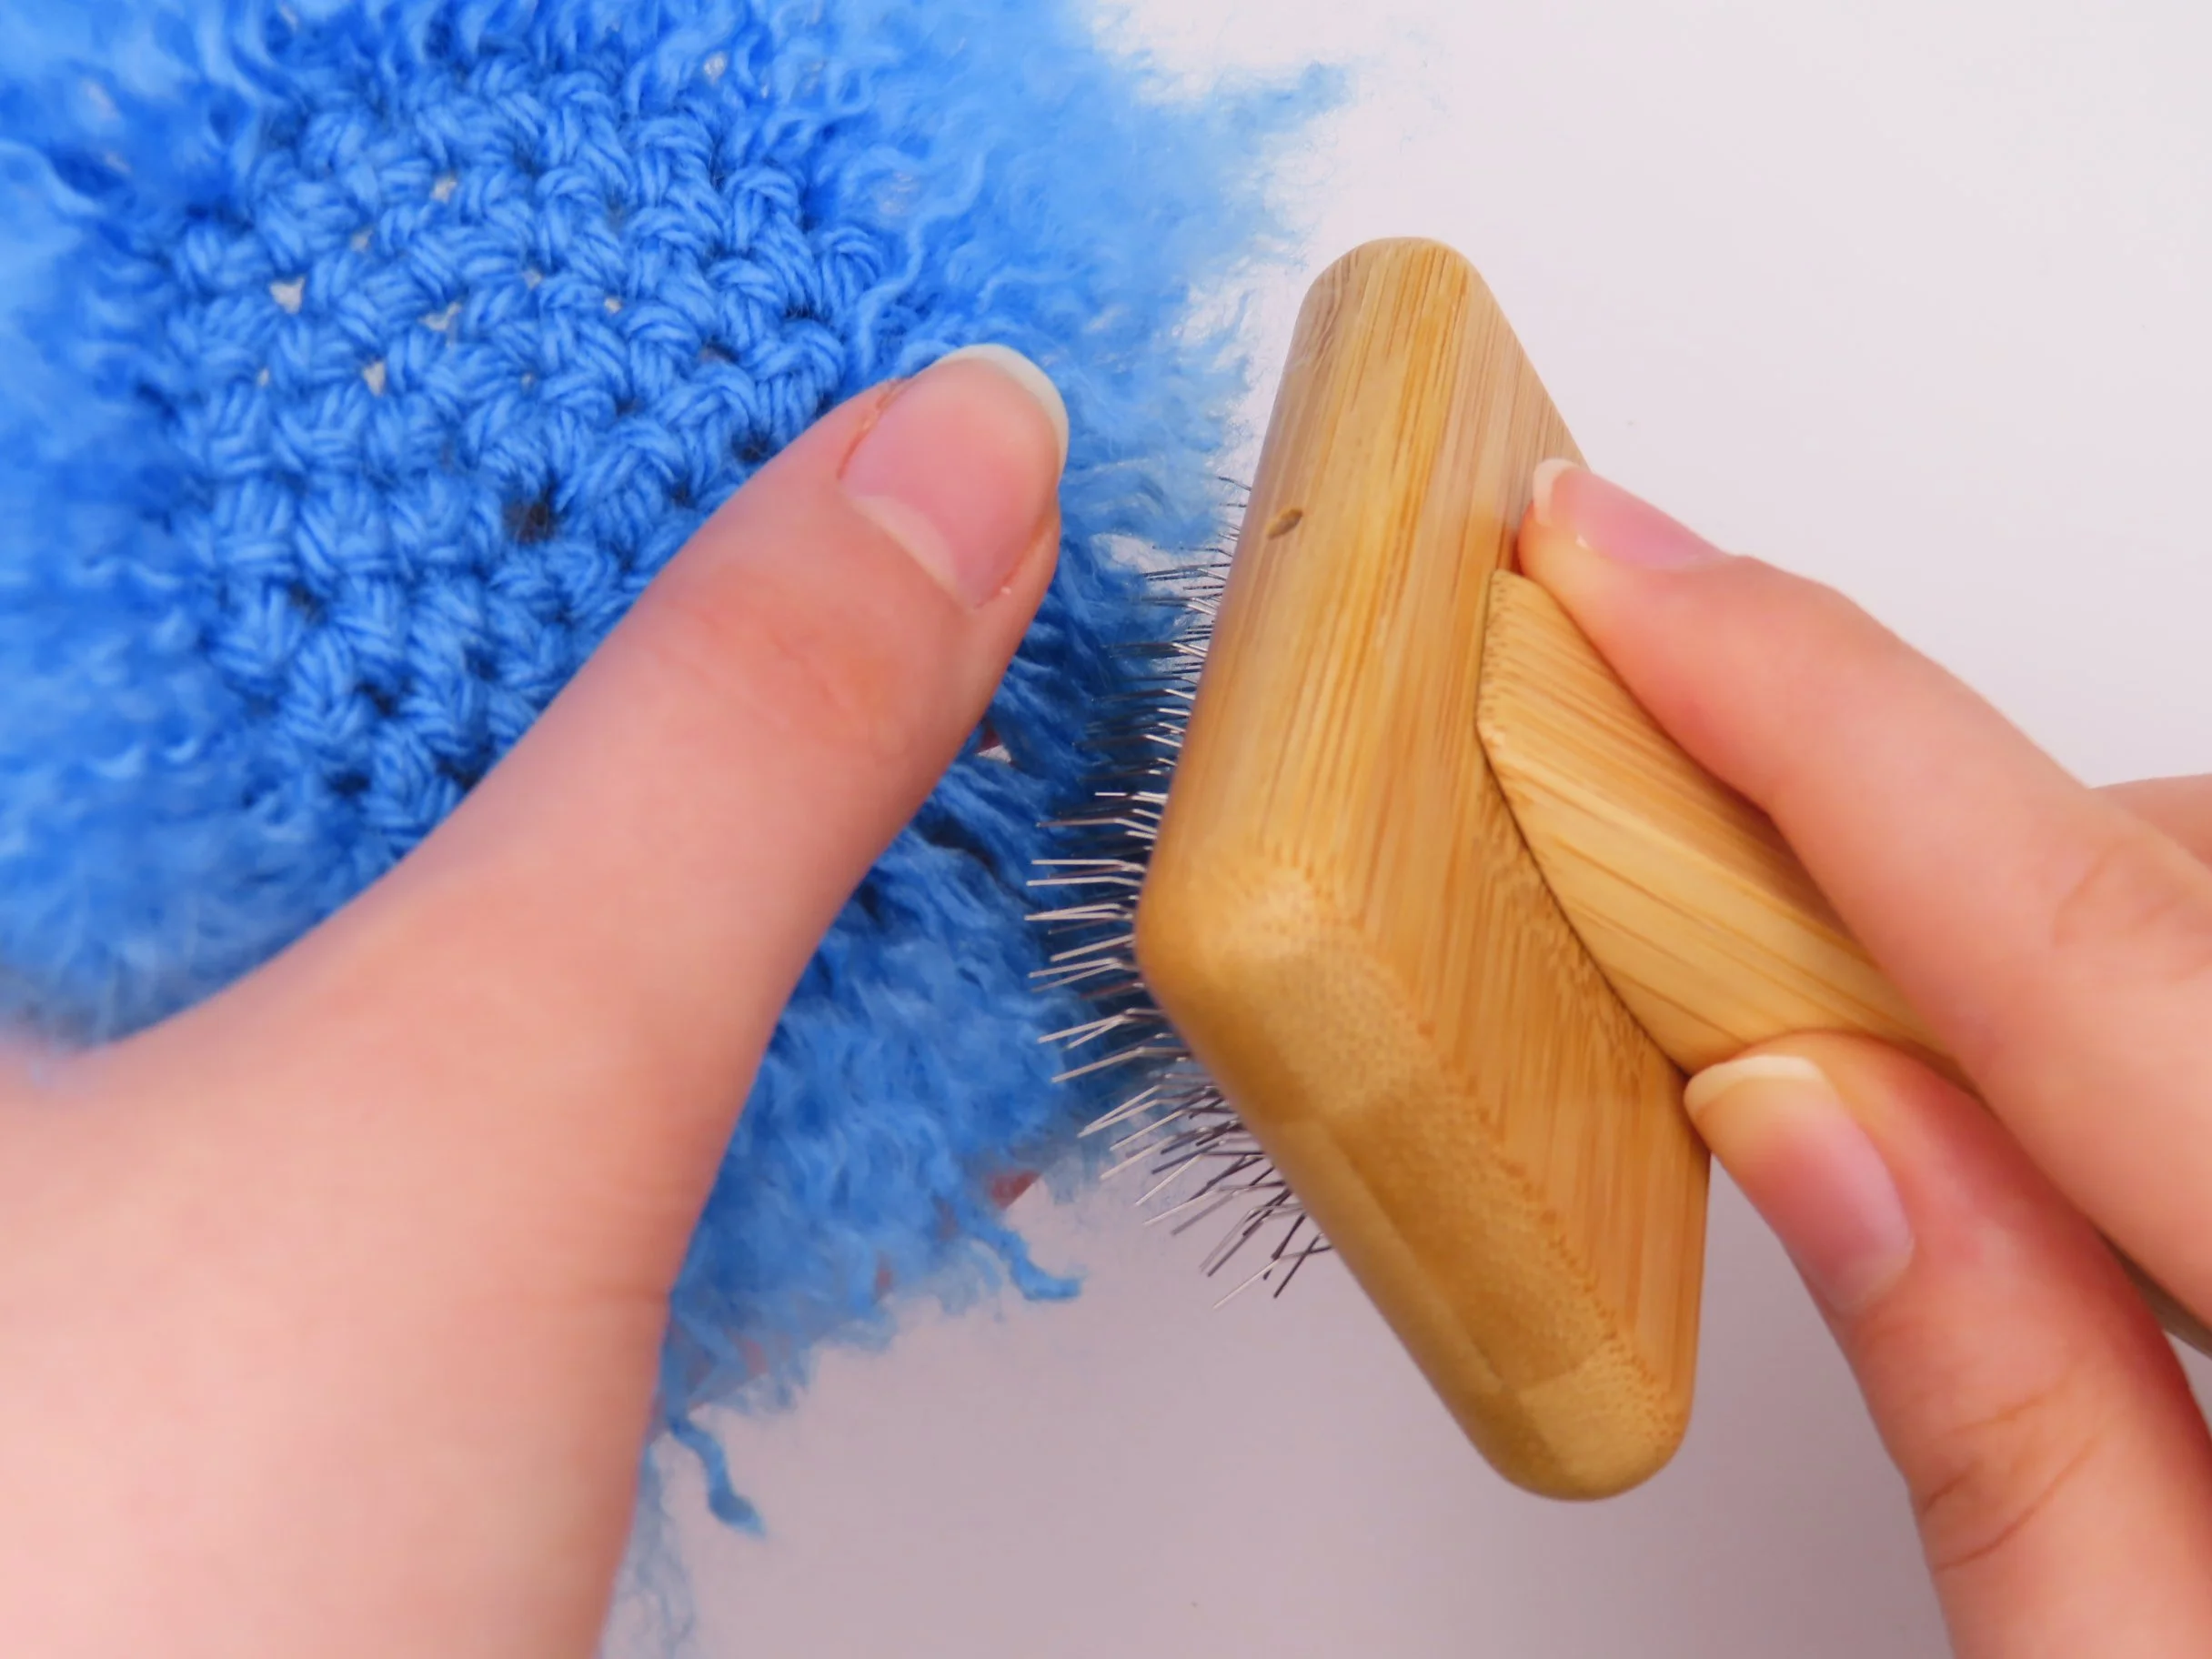
For an even fluffier effect, you can use a comb and stiff bristled brush to brush the loose ends so that the strands unravel and fray.
Tip: start by brushing the tips of the strands first, then work your way to the roots. The strands will unravel easier if they unravel from the tips inwards.
The effect of this stitch is best seen when there’s lots of them all over a surface. When the piece is completed, you can cut all the loops to make lots of little strands.
Brushing with a stiff bristled brush, like this wool carder, after brushing with a comb will make the fluff more soft and wispy.
You can learn how to make some more simple crochet stitches here.
After more crochet knowledge? Have a look at some useful crochet techniques, or try this other interesting stitch.
Got a question? Get in touch at koalamea.crafts@gmail.com.


